Airframe Directive (A.D.)
And other helpful notes
eBandit Addendum
#021115
R/C Installation
Click here to
download (pdf file) (716 KB)
eBandit
Addendum #060512
Main Gear Mount Reinforcement Kits
Click here to
download (pdf file) (1,407 KB)
Main
Gear Installation Addendum #04112012
Click here to download the update (pdf file)
(268 KB)
eBandit
Addendum #03302012
Alternate Battery Mounting and a new receiver option
Click here to
download the update (pdf file) (223 KB)
eBandit
Addendum
Wing Mount Upgrade
for kits shipped prior to 9 December 2010
|
Discussion: The power has increased
and the weight of the eBandit has increased due to availability of the
ThunderPower 65c 7700 mAh power batteries.
If you intend to fly your eBandit to the extremes of speed and "G" loading, we recommend this upgrade.
Note: Kits shipped after 9 December
2010 have 1/8" thick Carbon Fiber formers included vs. the 3/32" original parts
and do not require this upgrade.
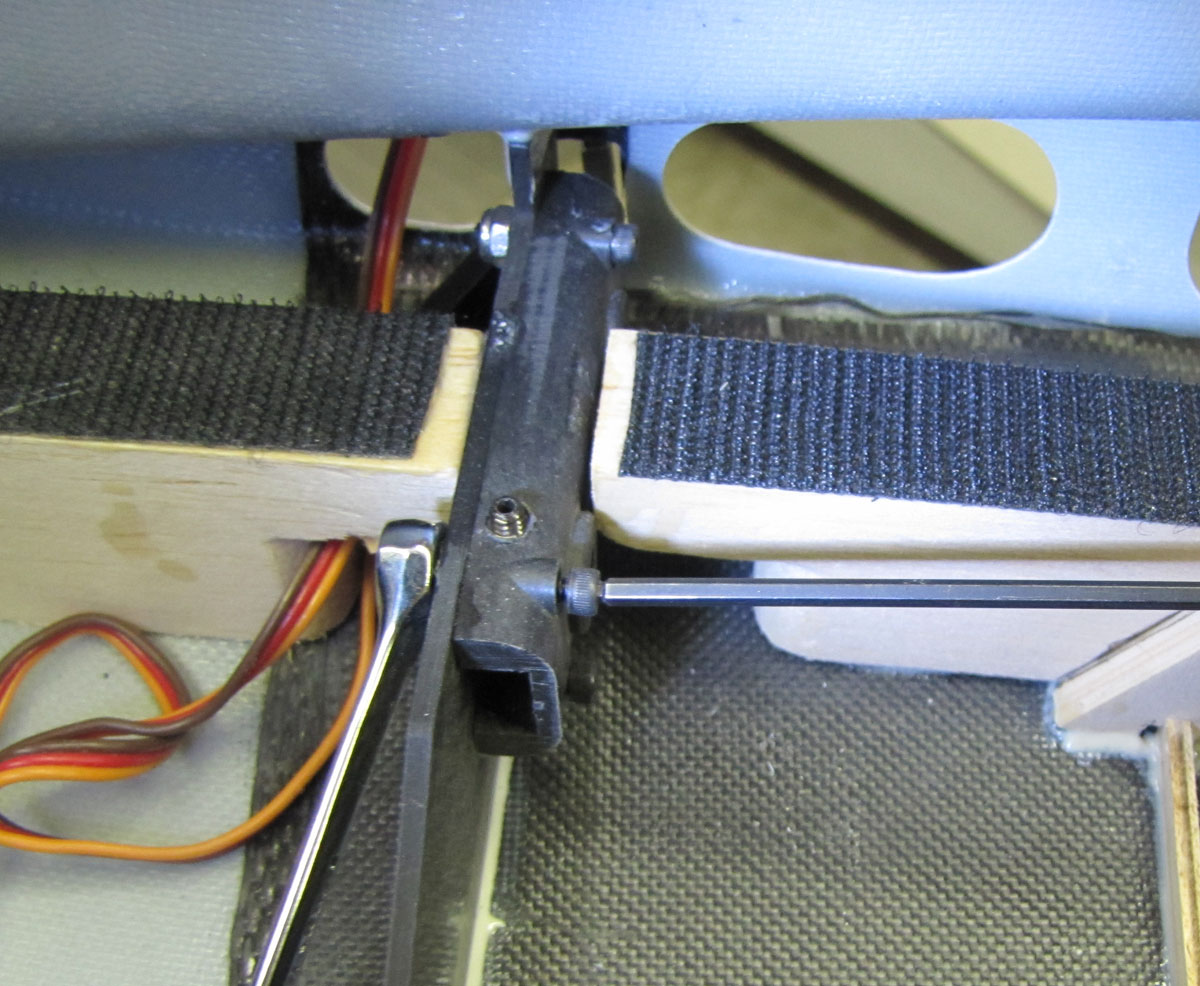
Note: Remove the wings from fuse.
Apply a few drops of thin C.A. to the wing mount brackets to hold them in place
on the fore and aft wing mount formers.
|
 |
 |
| □ Use a 1/4" wrench and 3/32" Hex driver to
remove the 4-40 locknuts on the aft wing mount former. Remove the 2
inboard 6-32 screws from the aluminum brackets on the fwd. former. |
| |
|
 |
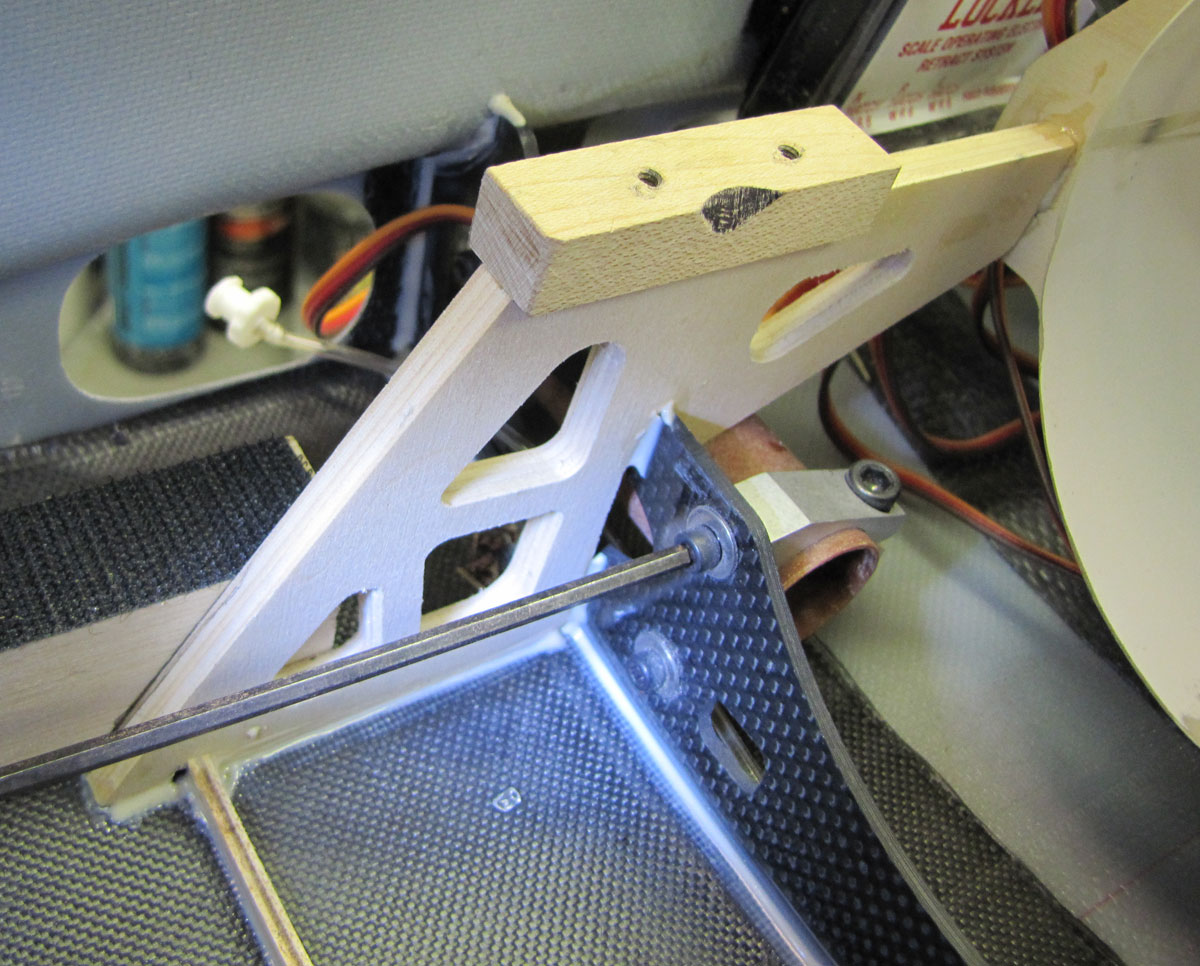
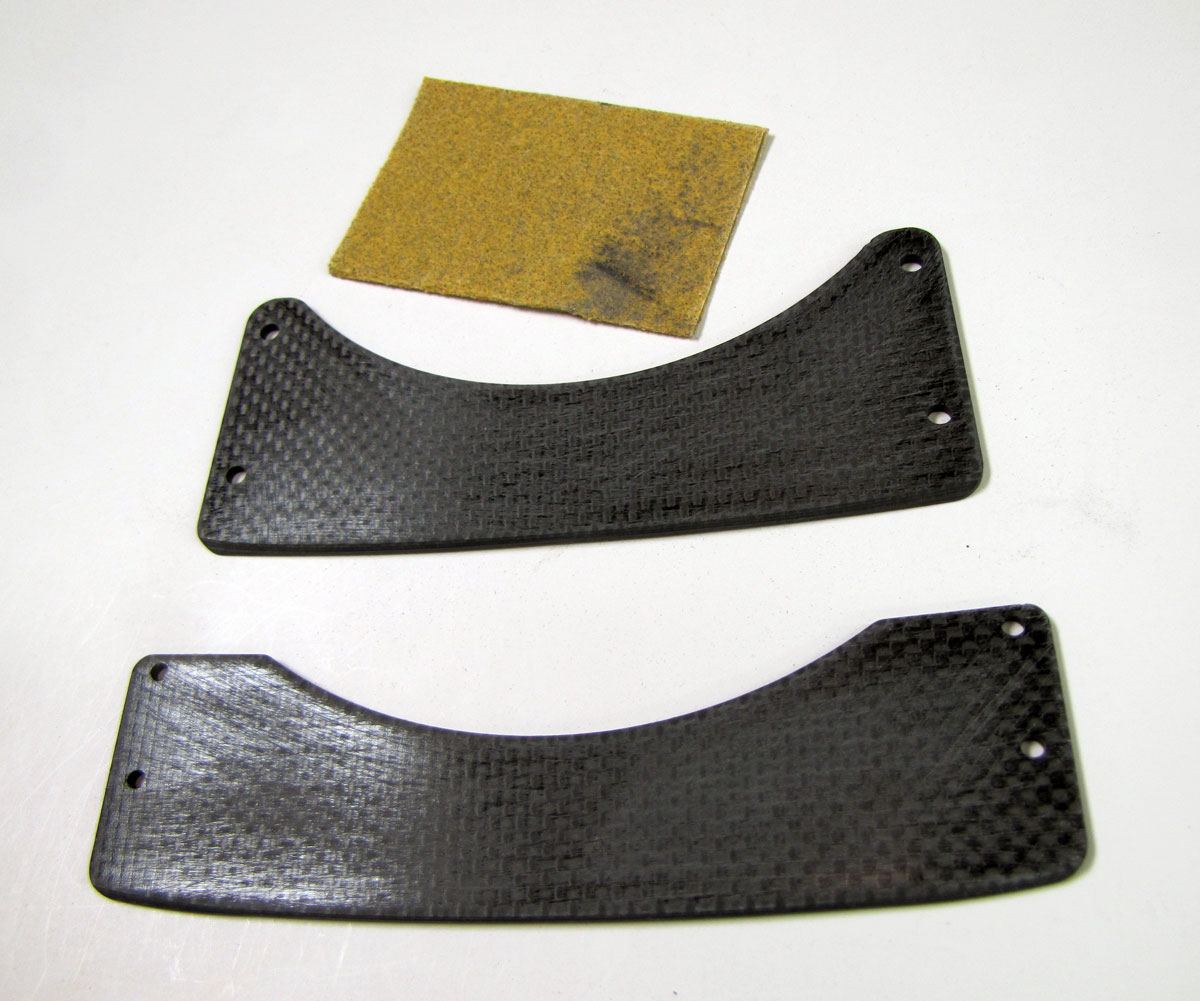
□
80 grit sand the mating surfaces of the
original formers and the reinforcement parts. Bevel the bottom edge as
necessary to clear the glue fillet.
|
| |
|
□
Trial fit the reinforcements to the back
side of the two wing mount formers.
|
| □
Apply Aeropoxy to the mating surfaces and
secure in place with nuts (aft former) and the 6-32 X 1/2" SHCS into the front
former. |
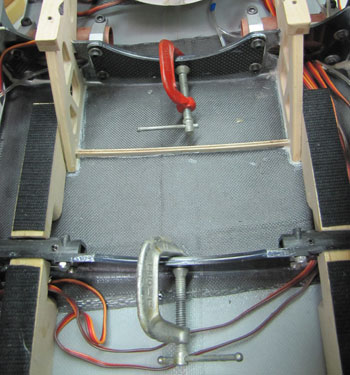
| □
Use clamps to hold the CF plates together
for glue cure. Note: Reroute air tubing and servo
leads as necessary. |
 |
|
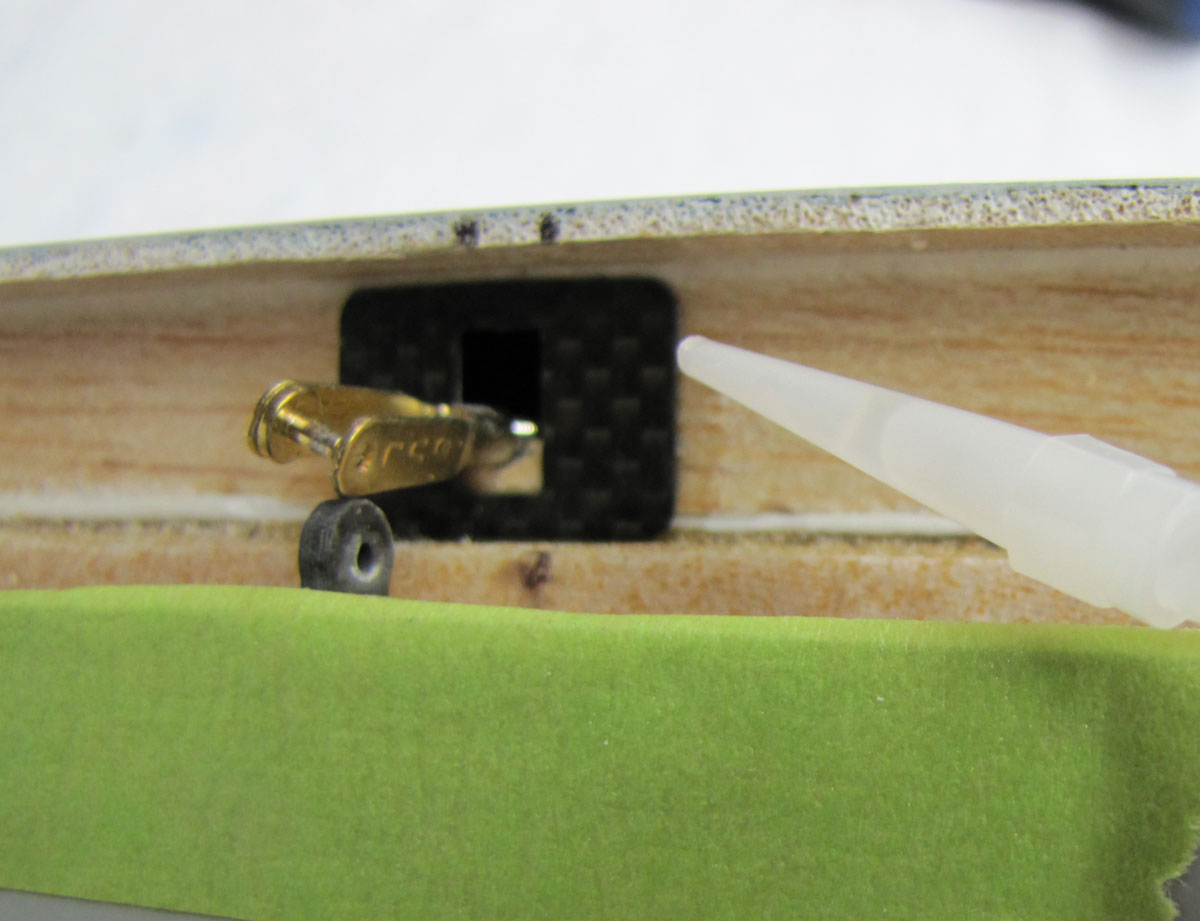
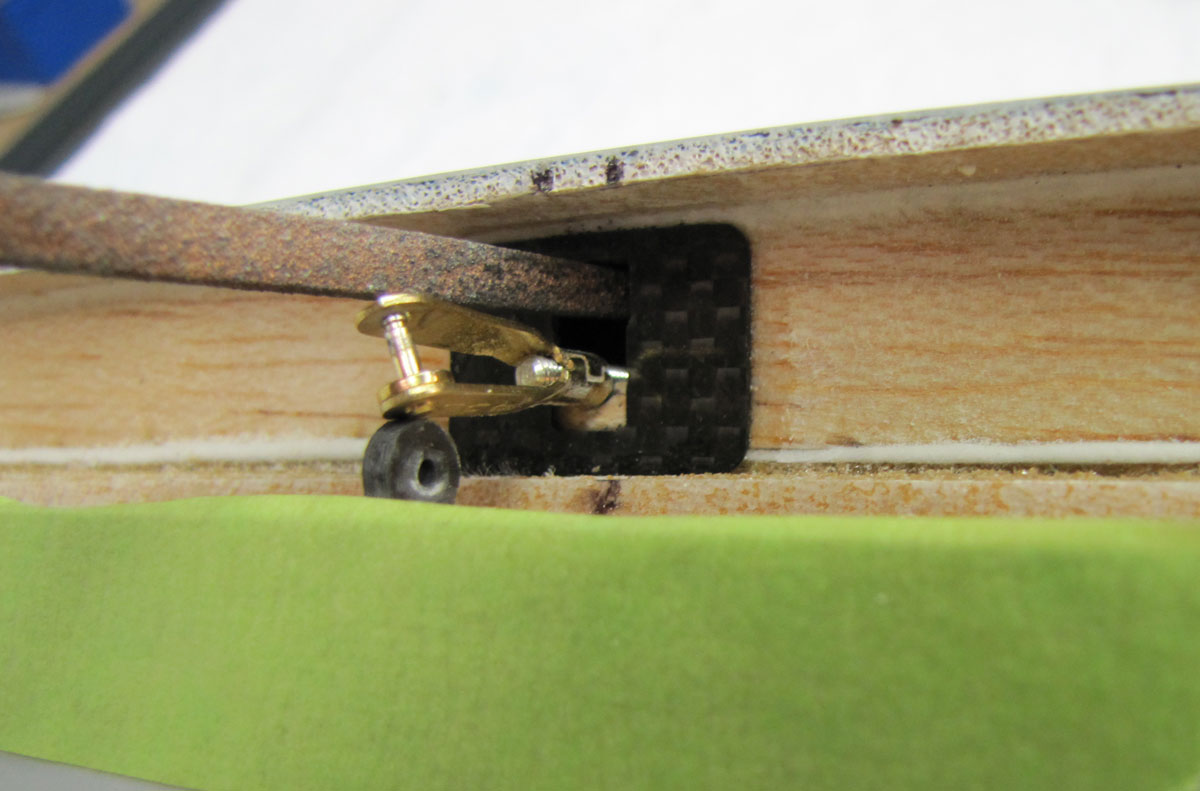
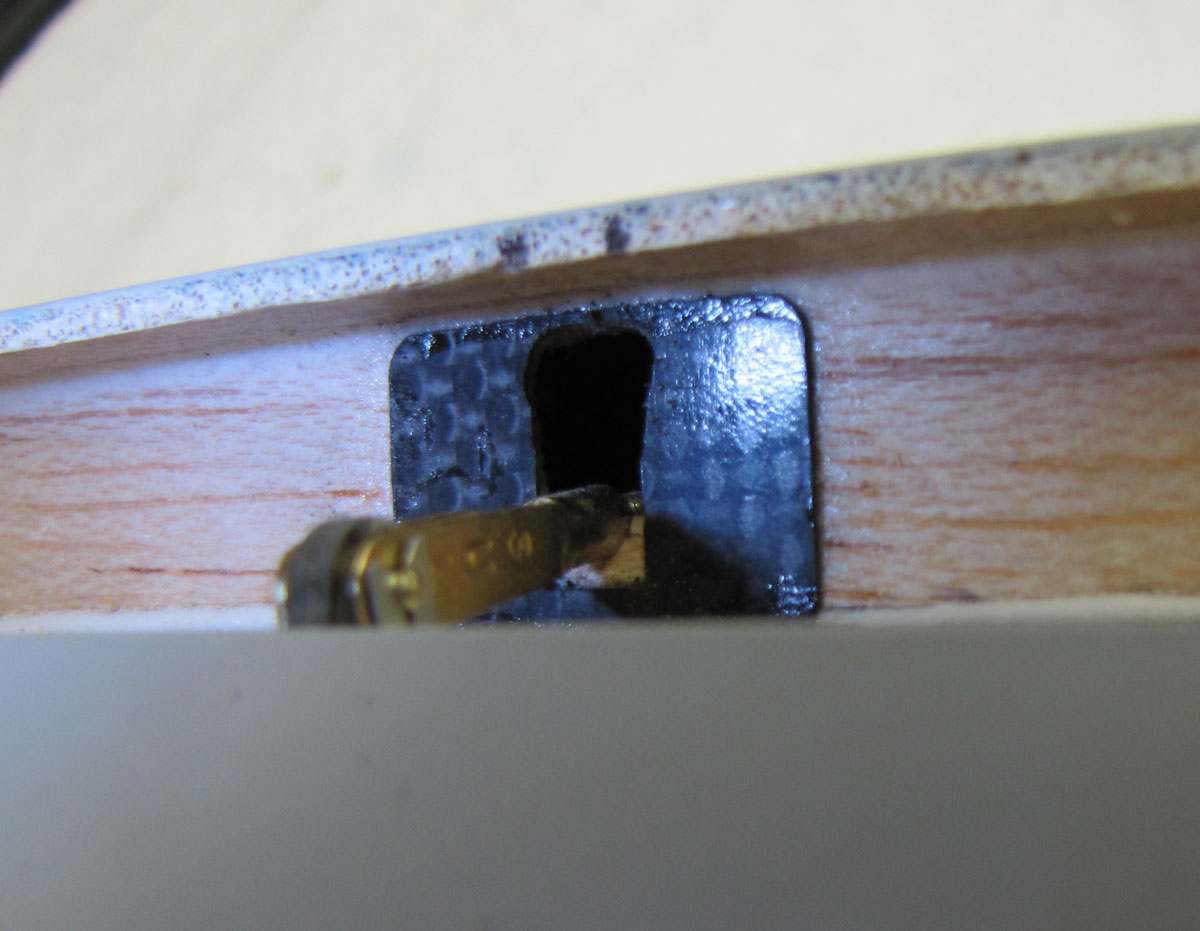
Wing Trailing Edge Enhancement
This simple addition adds
integrity to the wing trailing edge at the flap control rod exit point.
If the model is
finished/flown:
|
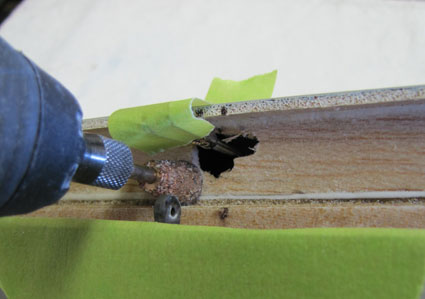 |
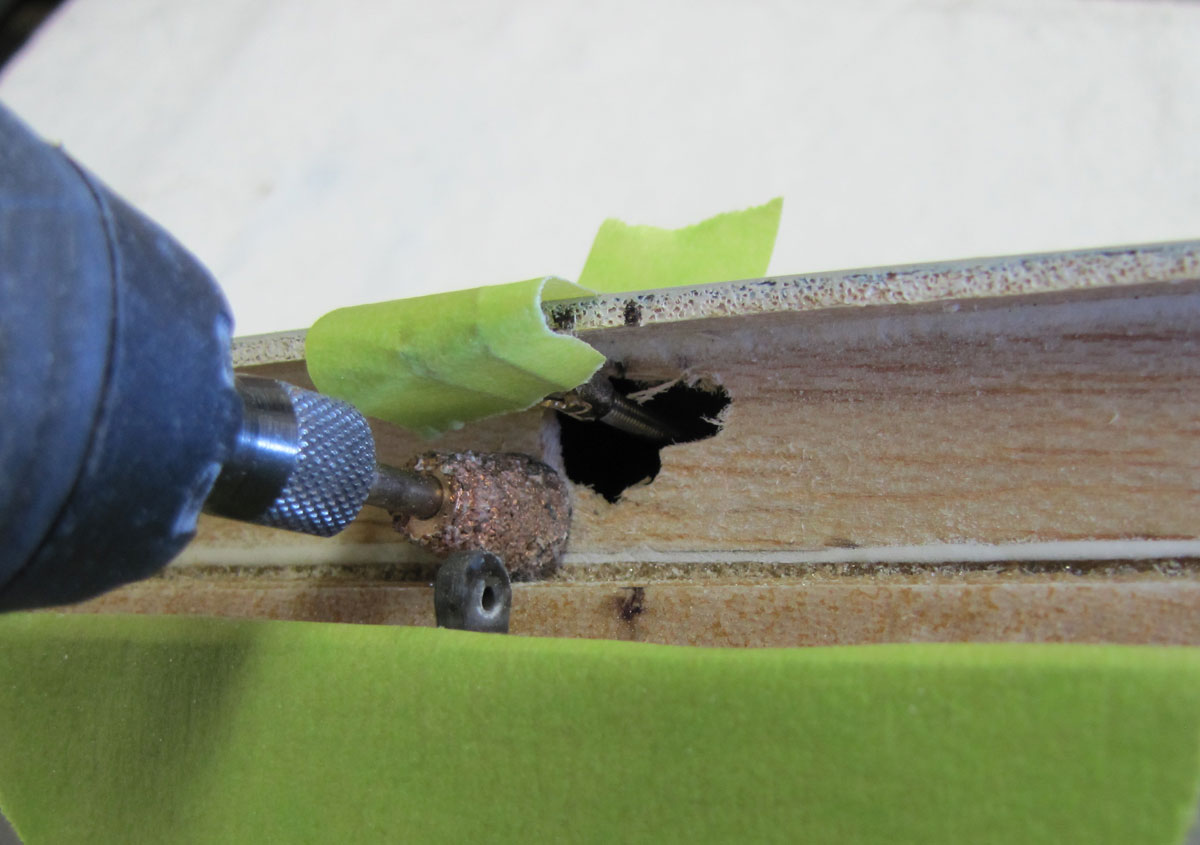
□
Disconnect the clevis from the
control horn. Use a inverse tapered cone PermaGrit
tool #RF7C to clear away the glue fillet as necessary to
allow the CF Brace to seat against the balsa trailing
edge. |
| □
Trail fit then use Zap-A-Gap to
secure the CF plate to the T.E. |
 |
|
|
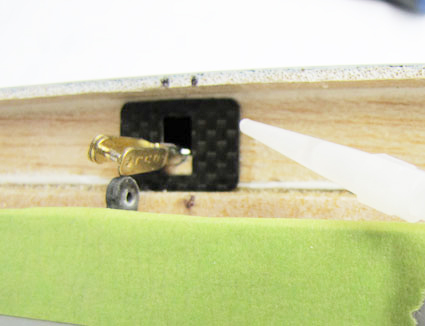
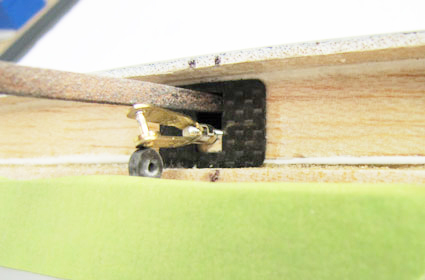
□
Use a PermaGrit file to relieve the
top of the slot for the flaps up position. |
| □
The finish opening will look like
this. |
 |
| |
|
Contact Us
All graphics, photos, and text
Copyright 2016 BVM, Inc.
Use of graphics or photos without written permission from
BVM is
strictly prohibited. |